The second garden we toured with Lili Singer on 1/24/13, through the Los Angeles Arboretum & Botanic Garden’s series “Thursday Garden Talks with Lili Singer.” The first garden toured can be seen here.
The description of the second garden from the handout:
“The youngest of the three gardens we’ll visit, this family- and dog-friendly landscape in Santa Monica Canyon includes colorful fragrant natives and other mediterranean-climate plants, permeable paving, drip irrigation and smart controllers. Edibles and ornamentals abound, along with birds, butterflies and other beneficial wildlife. Designer Fleur Nooyen will be our guide. She began the installation in 2011 and still works with the owner (an enthusiastic new gardener!).”
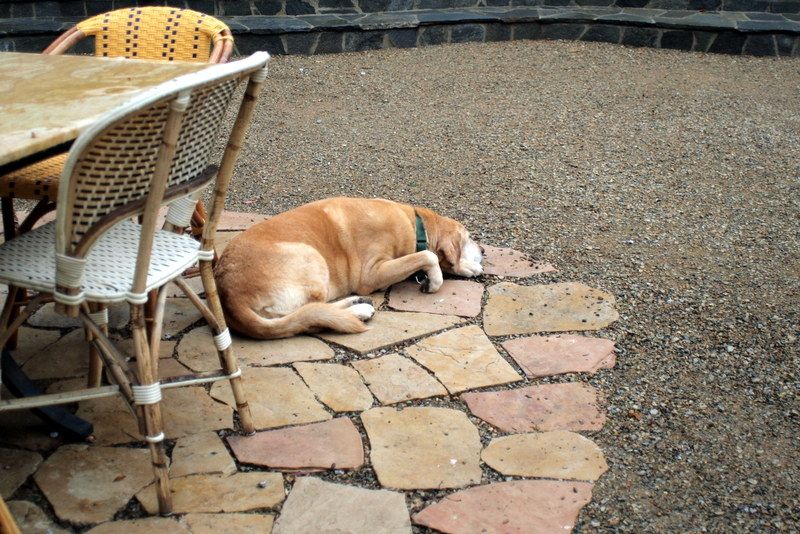
12-year-old lab Sadie in a rare state of repose. She greeted everyone individually, graciously welcoming each of us into her domain. Sadie runs this garden. Runs it, squashes it, tramples it, digs it. The owner has the good sense (and warm heart) to design around the challenges posed by Sadie.
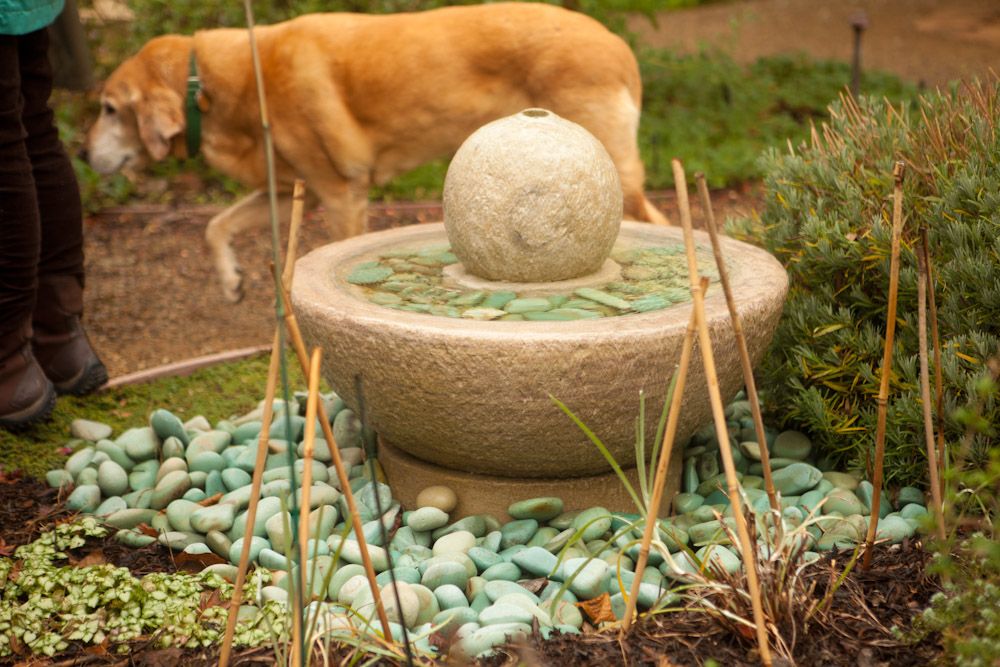
An avid lounger on plants, the sticks are intended as Sadie deterrents. The turquoise blue fountain stones are from Arizona.
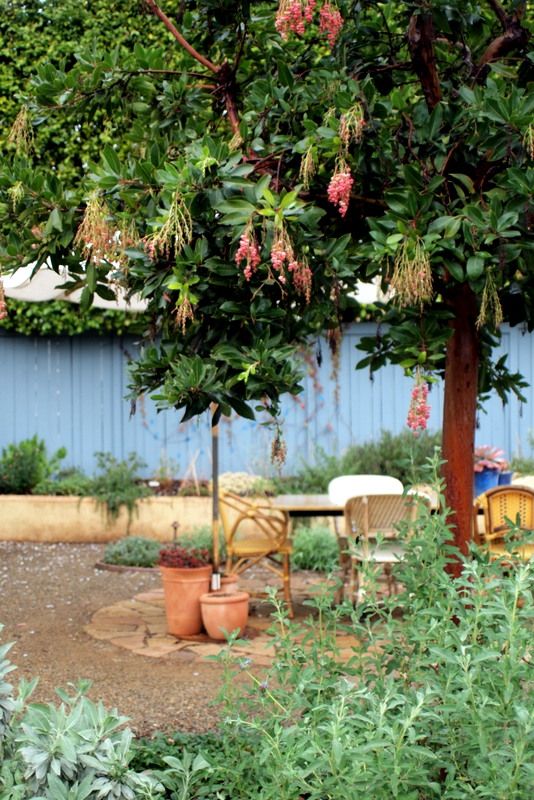
A young Arbutus ‘Marina.’ Stunning showboat of a tree to shade the seating area off the back of the house.

A fascinating provenance for this madrone is given by San Marcos Growers at the link. “Marina” refers to the Marina District of San Francisco. Legendary plantsman Victor Reiter, founder of the California Horticultural Society, is involved in the account:
“Mr. Reiter had acquired his plant in 1933 when he was allowed to take vegetative cuttings from a boxed specimen that was at the Strybing Arboretum. The Strybing Arboretum, under director Eric Walther, had purchased the boxed tree from the closing down sale of Western Nursery on Lombard Street in the Marina District. Charles Abrahams, the owner of Western Nursery, was thought to have taken cuttings from trees that were sent from Europe for a 1917 horticultural exposition, one of which was probably this beautiful tree.”
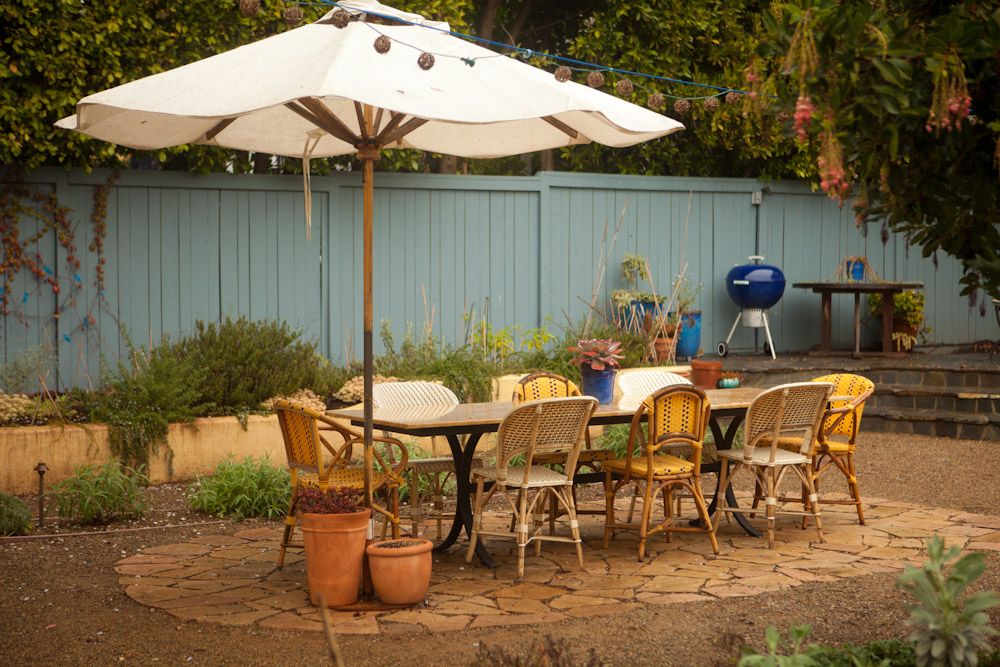
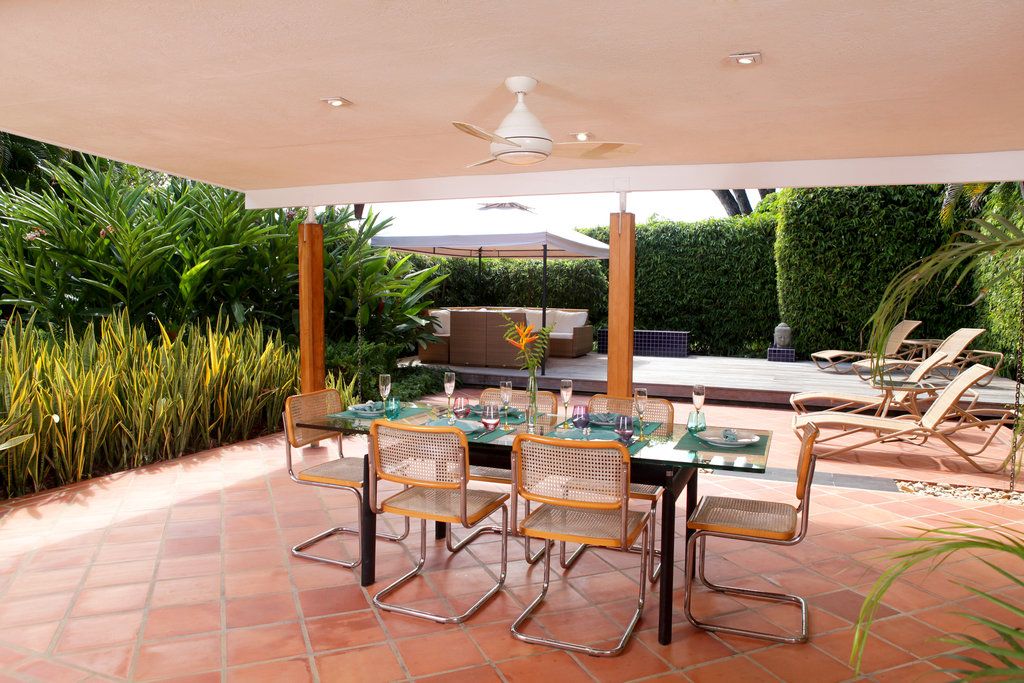
Dining area with herb garden. Weber kept in handy proximity.
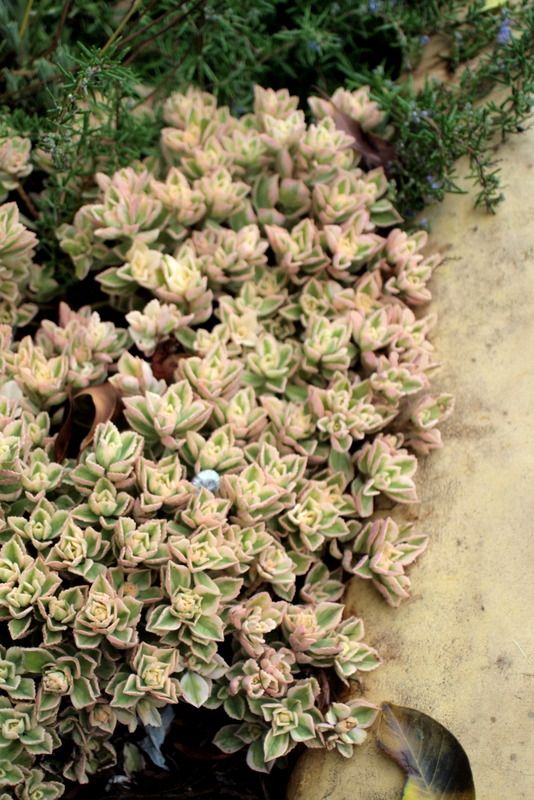
Luminous bright leaves in the herb garden are, I think, Cuban oregano, Plectranthus amboinicus Plectranthus neochilus ‘Mike’s Fuzzy Wuzzy’
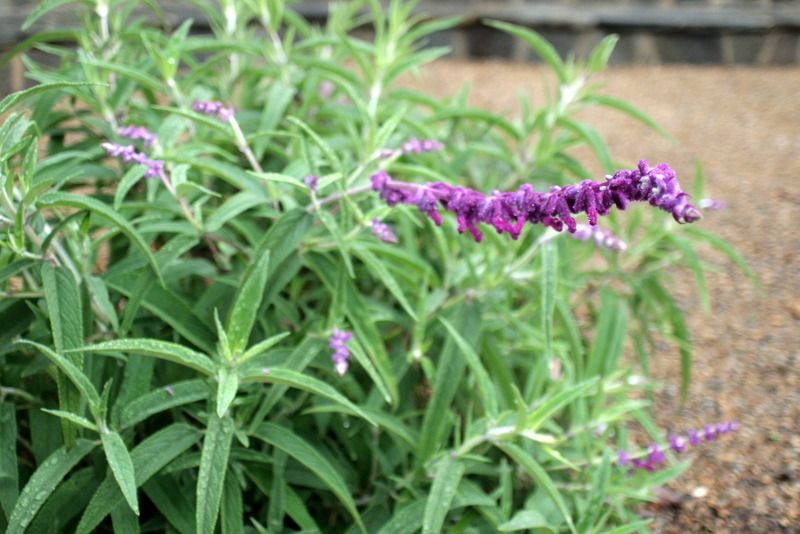
A row of Salvia leucantha is planted in a narrow border alongside the table. When this salvia is strictly cut back hard each year, as is done here, it is marvelous. When not cut back, it’s a twiggy, leggy, obnoxious mess.
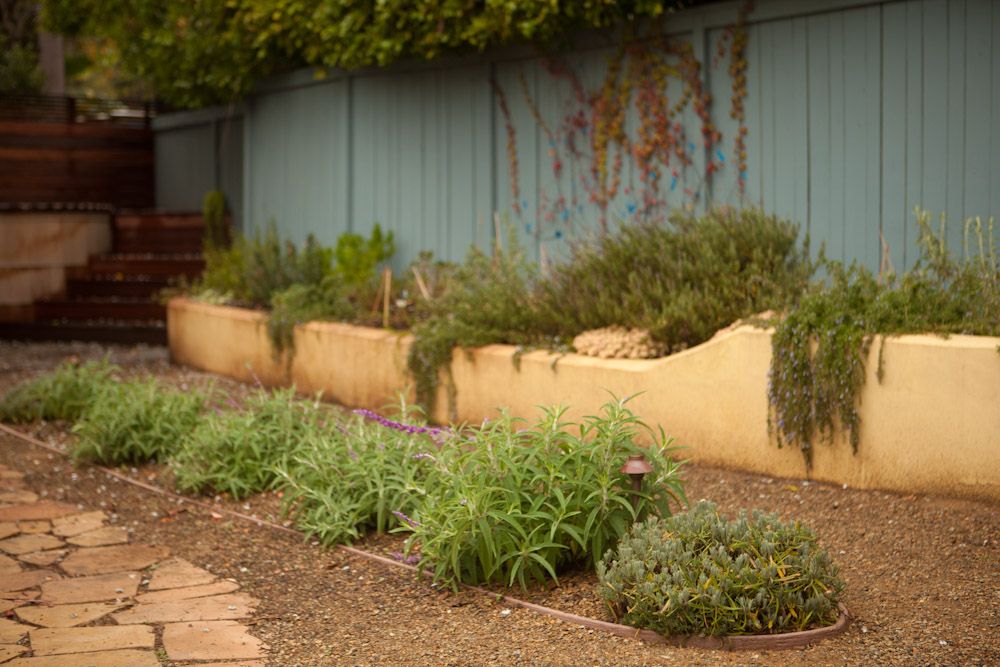
The herb garden, with Salvia leucantha in the foreground. Stairs lead to…
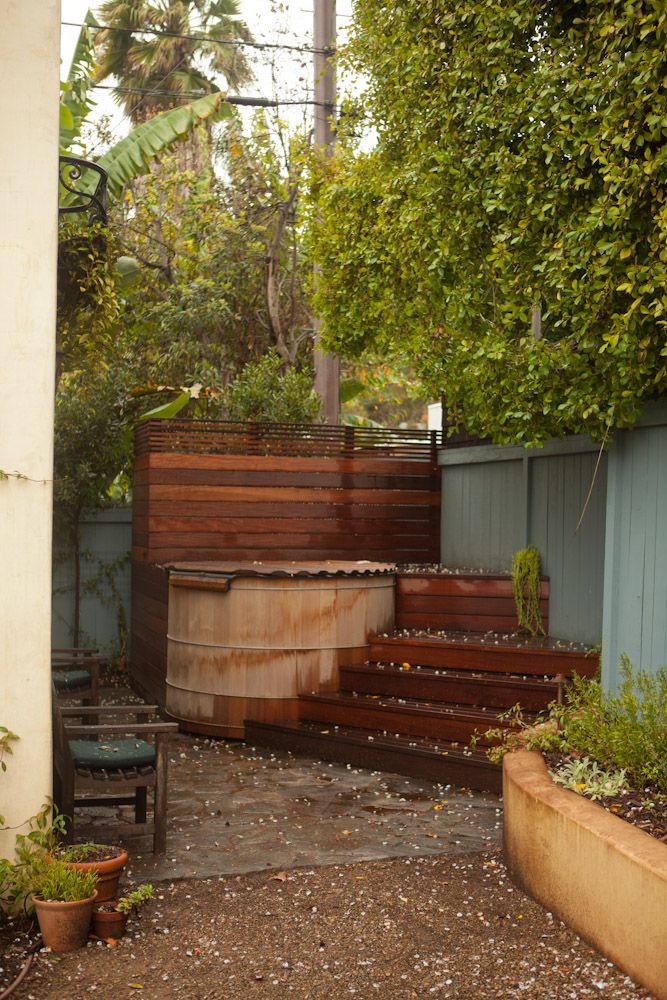
The hot tub
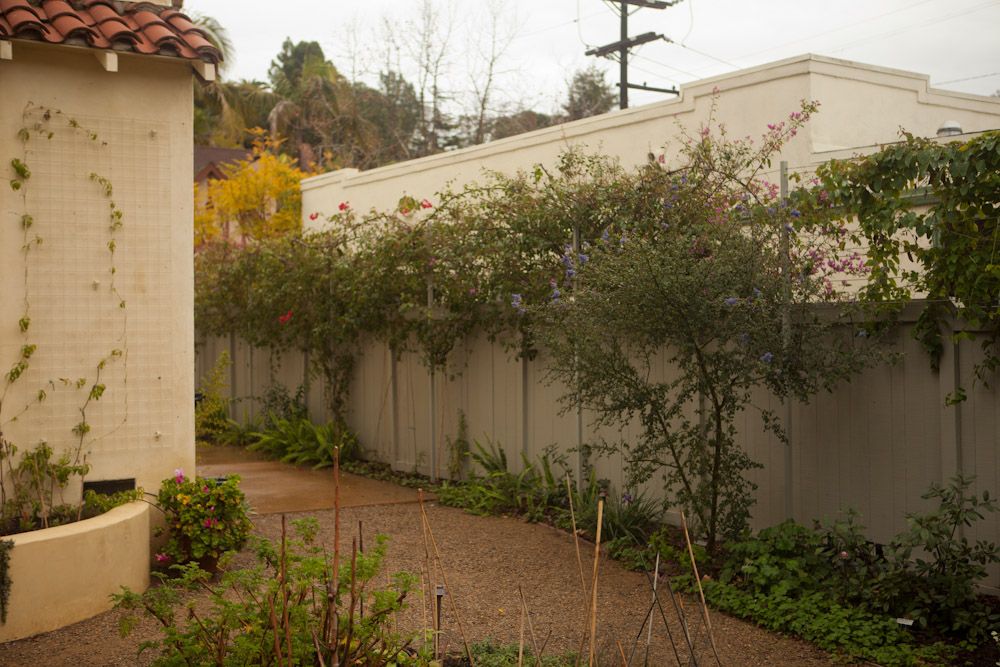
Coming up the driveway, the fence is planted with privacy vines, ceanothus, abutilon
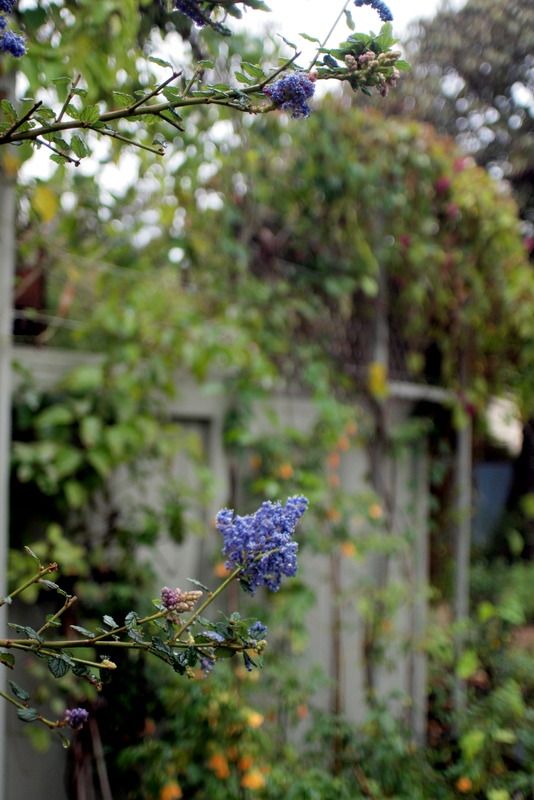
Ceanothus ‘Frosty Blue’

Luscious flowering maple. I asked the designer Fleur Nooyen about the scale insect problem that always afflicts any abutilon I try to grow. Not a problem here so far. Fleur said that other than applying dormant oil, there’s not much remedy for bad scale infestations. Don’t I know it!
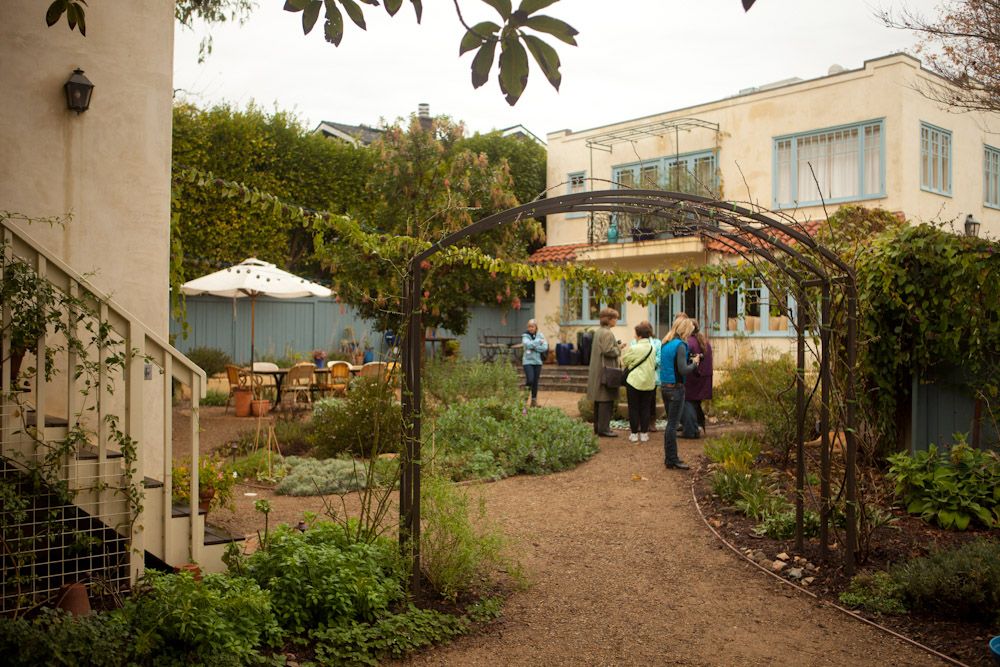
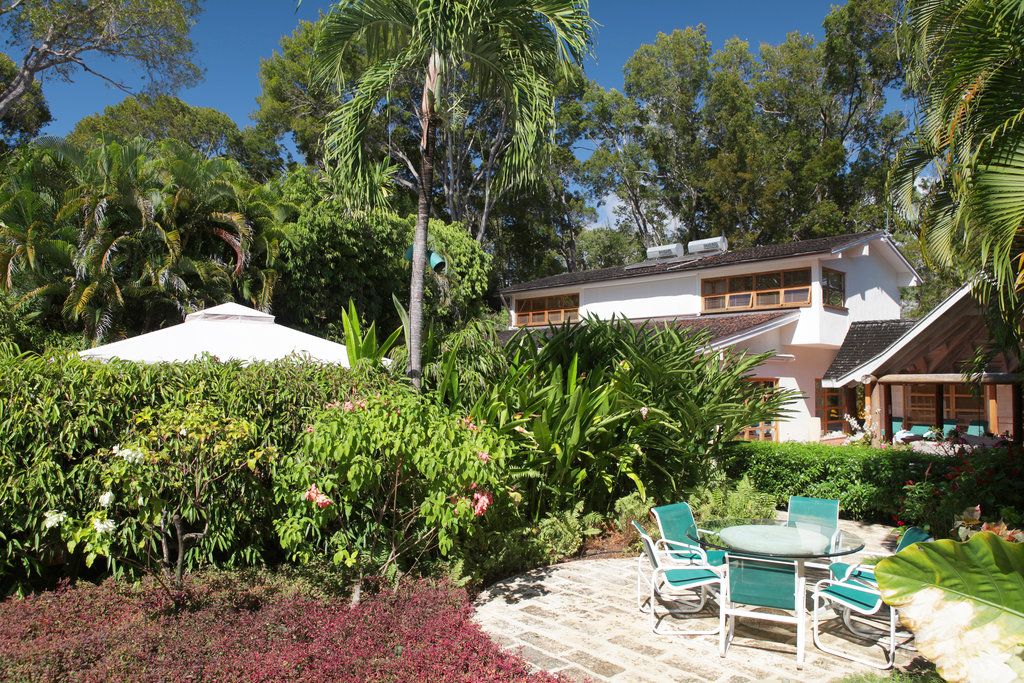
Looking back at the house, photo taken from an unseen lawn of Carex pansa, a lawn substitute that doesn’t require mowing. The entire back garden is built for water permeability to avoid wasteful runoff, with pathways of decomposed granite and terraces of unmortared, dry-set stone.
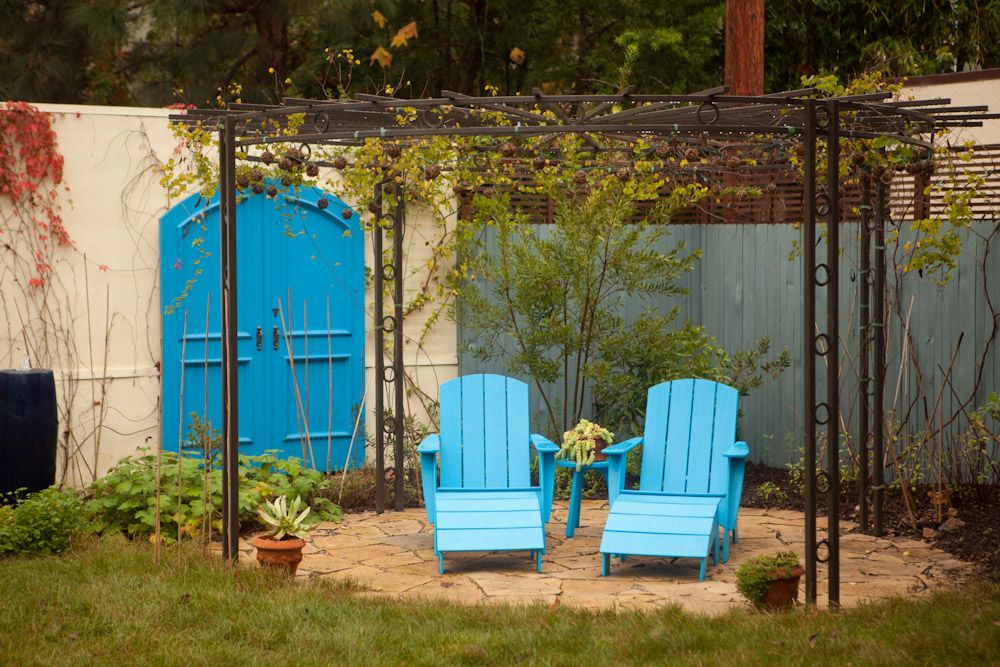
Some of the carex visible in this photo. The large swath of Carex pansa surrounds another terrace topped by an arbor. Keeping track of the blues?. Blue fence, blue stones, and now blue Adirondacks. The blue doors are a design deception that lead nowhere. Clever trick for breaking up a long, adjoining garden wall.
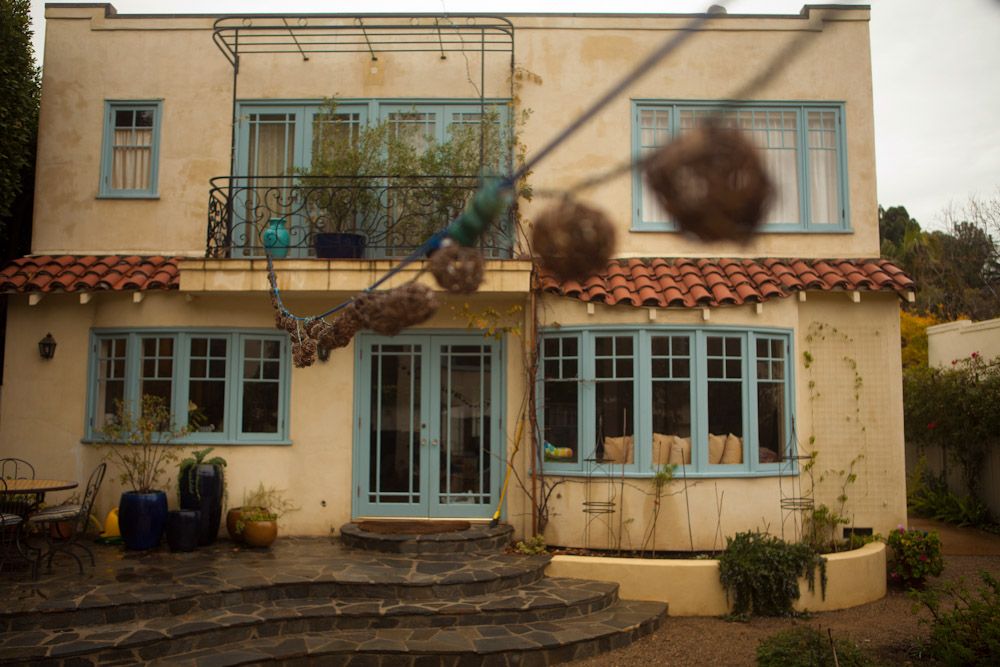
The blues in the garden tie in with the trim on the Spanish-style house
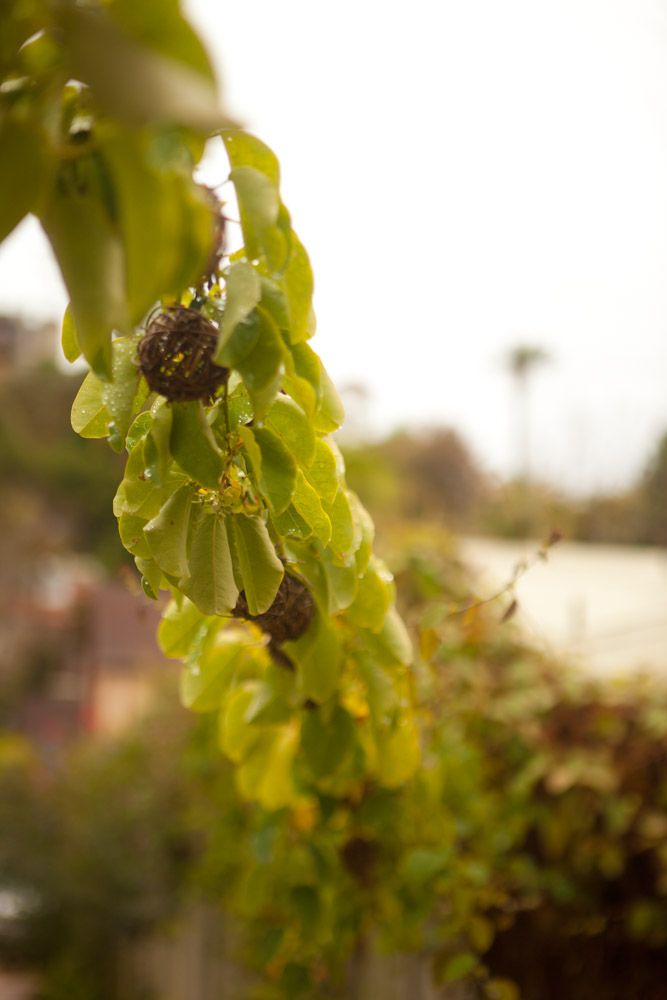
Little orbs on the light strings woven from grapevine
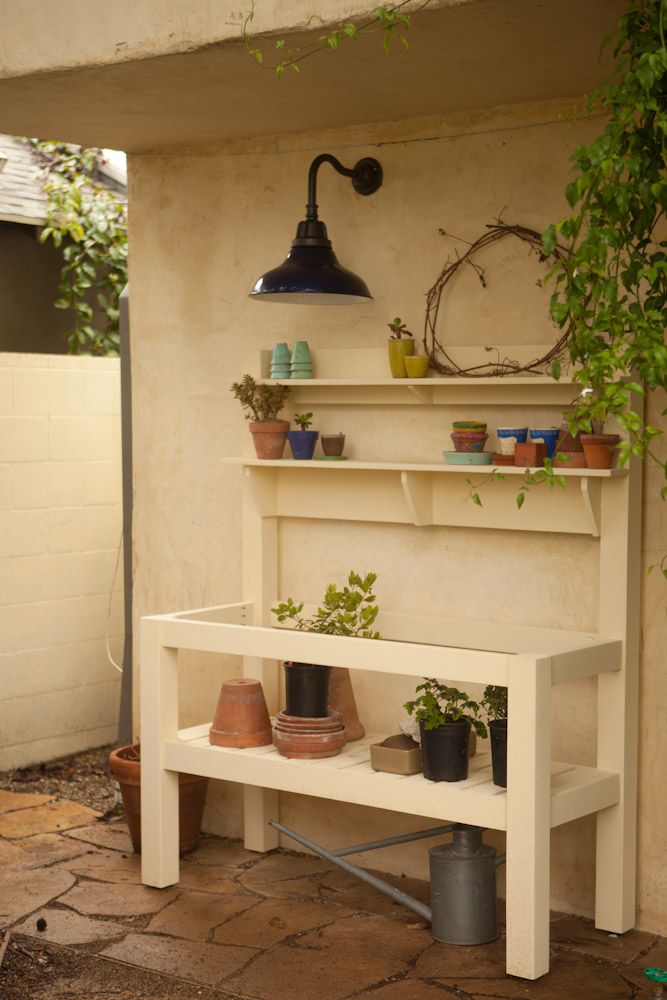
Just one of the many benefits of bringing in a designer is that every detail is planned and built in from the get-go. How many years has it taken to get around to building your potting area? 24 years here, and still counting.
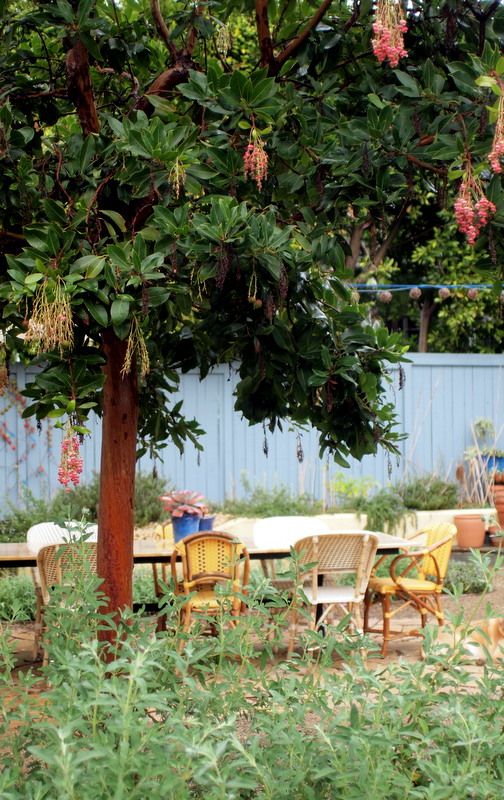
One more angle of the madrone and its gorgeous bark. Another of its names is the Strawberry Tree.
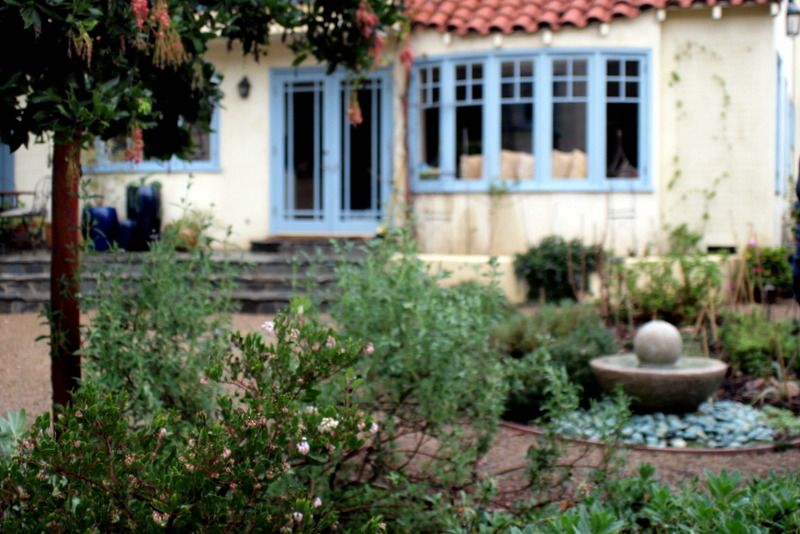
Thanks to Lili Singer, the owner, and designer Fleur Nooyen for the tour of this personal, intimate garden designed for long outdoor meals, filled with natives and aromatic herbs that are easy on the water bill. Sadie is one lucky dog.
One more to go. The designers’ briefs for the first two gardens revolved around family, pets, native plants, edibles, permeability. The designer of the last garden is pedaling like mad to keep up with the owner’s enthusiasm for garden antiques. She keeps a personal warehouse container at the ready at Big Daddy’s, which I’ve written about here. lord, have mercy! I’ll have that post up later this week hopefully.
Photos 2, 4, 5, 8, 9, 10, 13, 14, 15, 16 and 17 by MB Maher.
